The most popular and reliable email client is MS Outlook. PST and OST are the two popular file types that Outlook uses with POP and IMAP accounts, respectively. We’ll examine methods for importing OST files to Gmail in this article.
How does OST Function?
Account types including IMAP, Office 365, Exchange, Offline Outlook Data Files, or OST, are used to store and synchronize a duplicate of your mailbox data on your computer. You may still use Outlook when working offline, but email sending is not possible.
All changes to your OST file during the network loss will be synchronized to the server once server connectivity has been restored. Your OST file data and server data will, in essence, be equal once more. We shall now concentrate our efforts on the immediate issue at hand—importing OST files to Gmail.
By Manual Process
- Locate your OST files in step one.
- Export your OST file as PST in step two.
- Using, import PST into Gmail. Tool for G Suite Migration for Microsoft Outlook in step three.
Manually import OST into Gmail
Since OST files cannot be directly imported into Gmail, it is recommended that they first be converted to PST format. FYI, the majority of the time, the email data is saved in an OST file by your third-party email accounts, such as Gmail, AOL, or Yahoo, that you had previously enabled in your MS Outlook desktop client using an IMAP configuration.
One must first locate the location in order to import OST files. By taking the actions listed below, one can achieve it without much difficulty:
Step #1 Track down your OST files
- Select Account Settings by clicking File > Account Settings.

- Select any OST file by clicking the Data Files tab and then the Open File Location button.

- Note: Regardless of the Outlook version, OST files can often be accessed here.
C:\Users\user\AppData\Local\Microsoft\Outlook
It should be noted that the AppData folder may be hidden; as a result, the user must first unhide it. To do so, go to View > Options in C: Usersuser. Select Show Hidden files, folders, and drives under the View tab after expanding Hidden files and folders.
Second, export your OST file to a PST file.
- Click the File tab > Open & Export > Import/Export option in Microsoft Outlook. The Import and Export Wizard will then be shown.
- Choose Export to a file here, then click Next.
- Select the Outlook Data File (.pst) option and click Next to open the Export to a File dialogue window.
- Now pick the email item you wish to export as a PST file by clicking on the necessary email account, then click Next.
- To store the PST file in the preferred location, click the Browse button now, then select Finish.
- Congratulations! An OST file has been successfully converted to a PST file. We will now investigate how to import this file into Gmail.
-
Import PST into Gmail using. The GSMMO (G Suite Migration for Microsoft Outlook) utility
The PST file may be imported to the user’s Gmail account using the G Suite Migration for Microsoft Outlook (GSMMO) desktop tool. The procedure is explained below:
- Search for and download the G Suite Migration for Microsoft Outlook program from any browser.
- Could you search for the program and open it?
- Click Continue to continue after being prompted for your login details.
- By doing this, your normal browser will launch the sign-in page.
- You will then be informed that GSMMO needs access to your Google account and requested to provide it. Click the Allow button when you’ve scrolled down.
- You should receive a confirmation message similar to the one below if all goes according to plan:
- By doing this, a new dialogue window will appear. Select From the PST file(s) from the drop-down menu, then click Next.
- You’ll be directed to the folder where every Outlook PST file is kept. If you saved your converted PST file to a different location in Step 1, then paste the file path to that location in the Address field.
- Click Next to continue when the file has been imported.
- If necessary, change the migration parameters. Once finished, choose Migrate.
- The migration procedure will start as a result. The length of the procedure will depend on how big your PST file is. You will be informed if the migration was successful when it is finished.
- When you log in to Gmail, check the left pane for the freshly imported PST file.
Congratulations! Your Outlook PST file has been successfully transferred to Gmail.
How to Import OST Files Into Gmail Directly
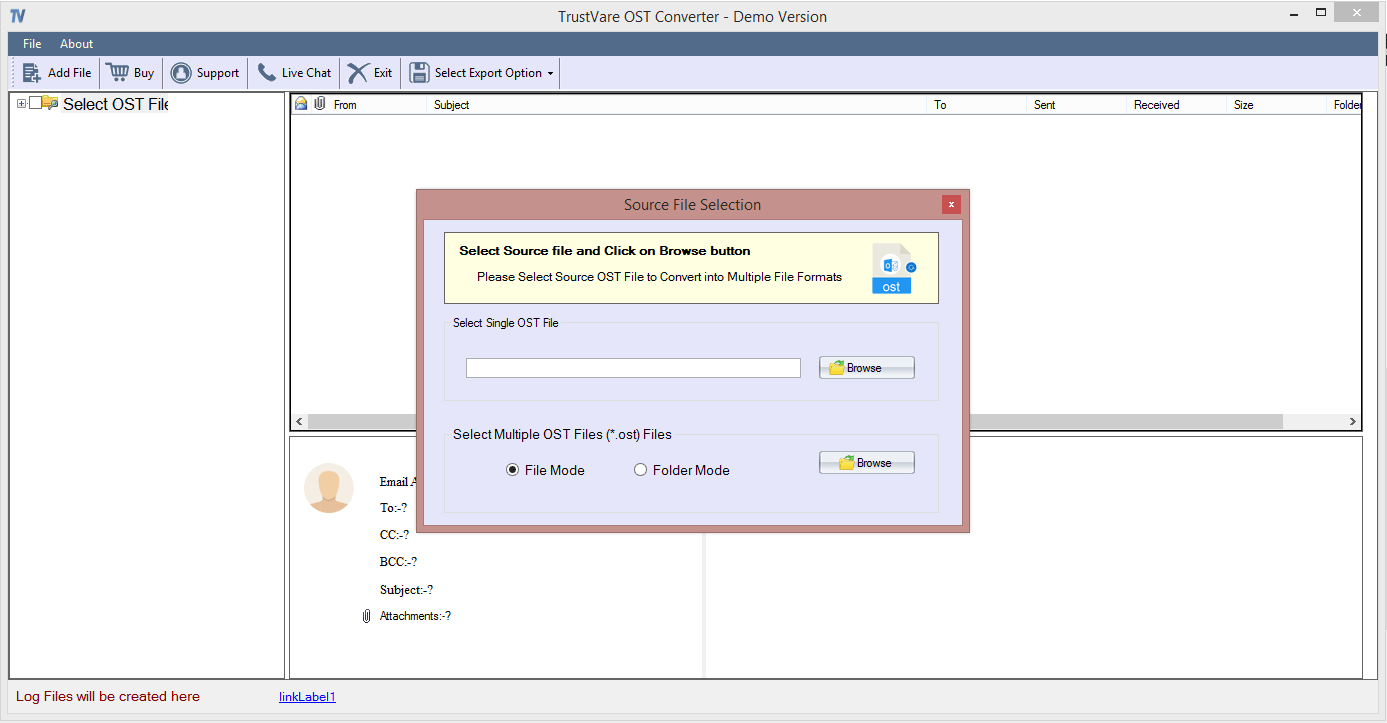
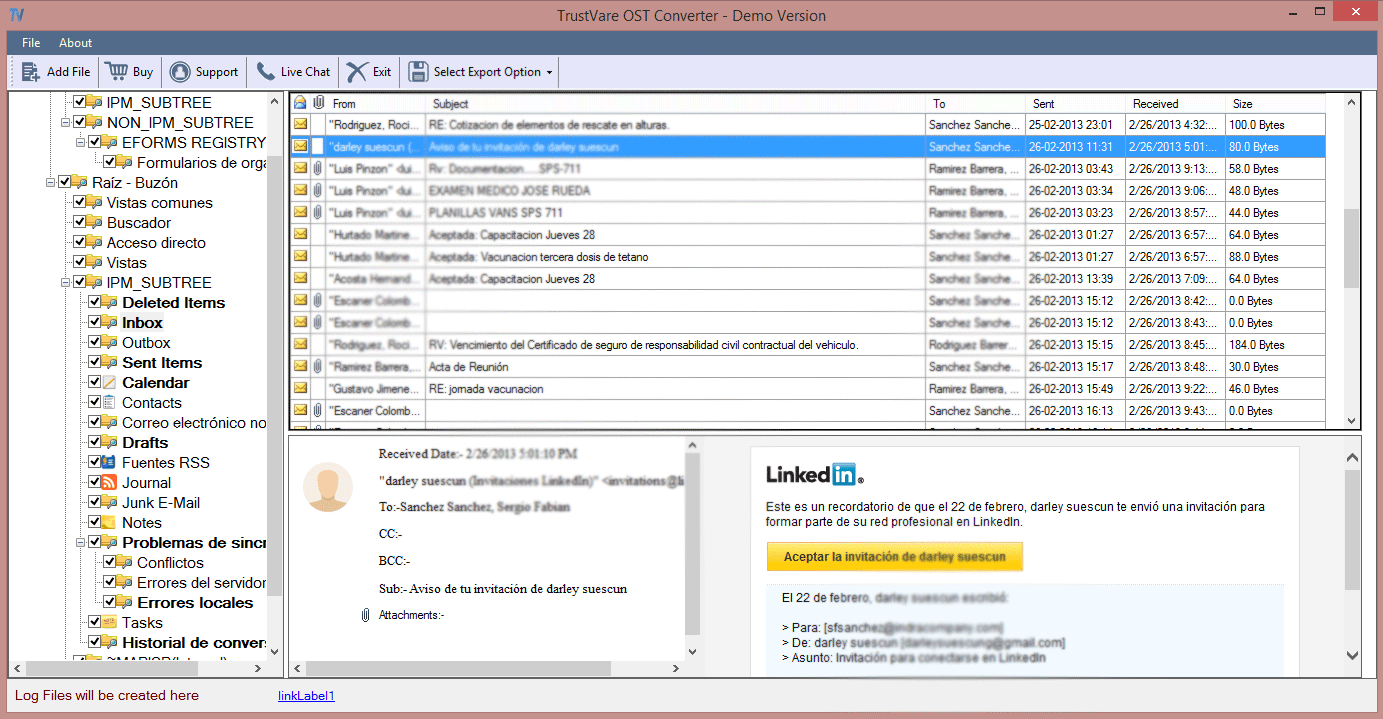
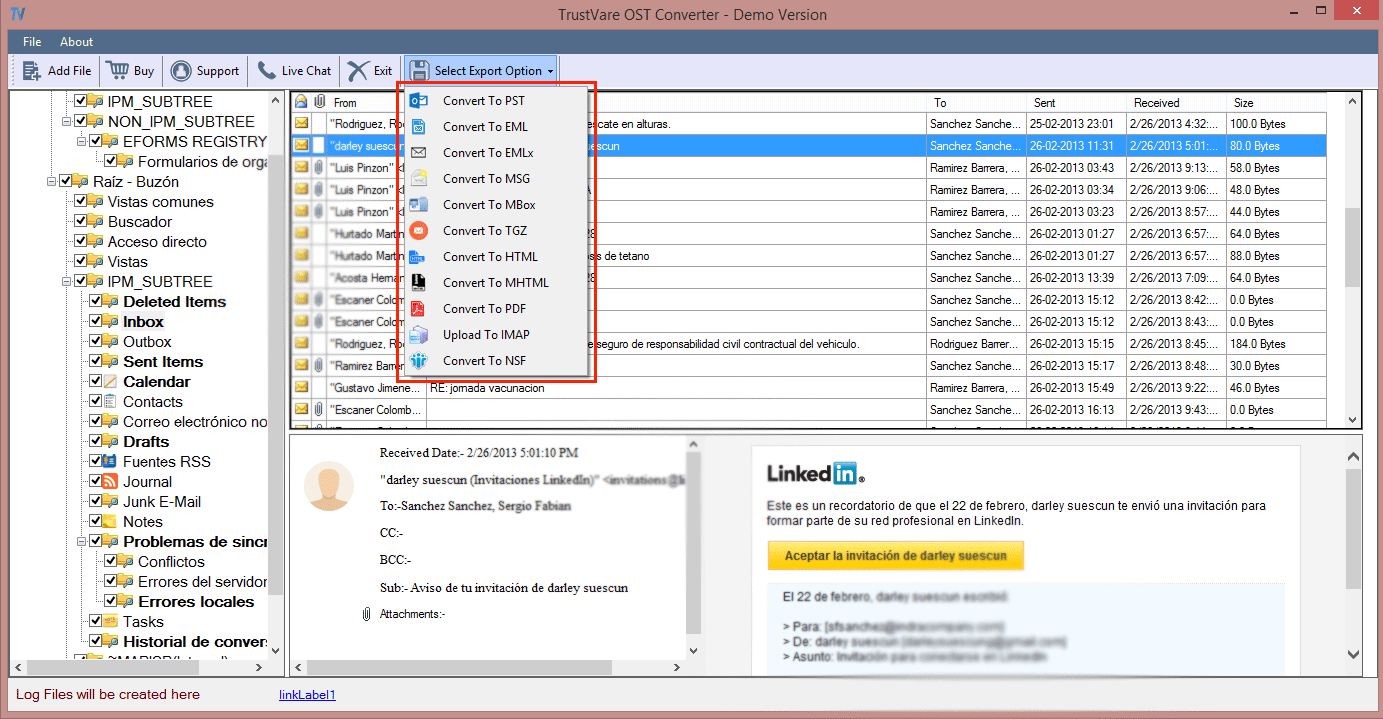
A third-party solution would be the most effective approach to directly import OST files to Gmail. The TrustVare OST File Converter Software is a great solution for importing OST to Gmail. During a migration, it is a comprehensive tool that can restore irreversibly destroyed Outlook mailbox objects while keeping the hierarchy. The OST may also be saved to PST, MBOX, PDF, DBX, EML/MSG, and other formats. Its ability to instantly export the OST data to live Exchange Server and webmail applications like Gmail, Yahoo, AOL, and others is a crucial feature. Furthermore, it may swiftly restore access to damaged OST files that were inaccessible before conversion.
Prerequisite: You need an app password rather than your account password to get into your Gmail account using a third-party program like TrustVare Import OST to Gmail. Follow the instructions below to set an app password:
- Choose Manage your Google Account by clicking your Google Account symbol.
- Select Security in the left menu window. To ensure that this works, make sure that 2-step Verification is enabled. Select app passwords next.
- Select Other (Custom name) from the drop-down option at this point.
- Enter TrustVare Import OST to Gmail in the text field and press GENERATE.
- For later use, copy the created password. Select “Done”
When utilizing the TrustVare OST File Converter Tool to Import OST to your Gmail Account to move the OST file to Gmail, you will need this app password rather than your Gmail account password.
Follow the steps to Import OST files to your Gmail Account
- Launch the tool, then select the Select File tab. This will bring up a new tab. To upload the OST file, click the Browse button.

- To continue, carefully read the Process Information and click Finish.
- The length of time it takes to process the data will depend on its size.
- From the folder hierarchy, choose the files or folders you wish to move, then click the Gmail symbol.

- The next step is to click.
- To transfer particular data, apply the mail filters, then choose Next.

- Enter your Gmail account id in the Login ID area and the previously generated app password (found in the Prerequisite section) in the Password text box.
- Depending on the file size, the migration will take some time.
- You will be asked with the following notice if the migration is successful:
- Verify your Gmail account to determine whether the imported folders were successful.
Conclusion
In this blog article, we have examined the G Suite Migration for the Microsoft Outlook desktop program to move OST files to Gmail. The procedure is laborious and time-consuming. We also covered the Import OST to Gmail program to save time and effort. This tool differs from similar ones in that it is furnished with a number of practical characteristics. Therefore, for a seamless conversion experience, we advise the user to utilize TrustVare Import OST to Gmail Application.
Read More: PST Duplicate Remover


