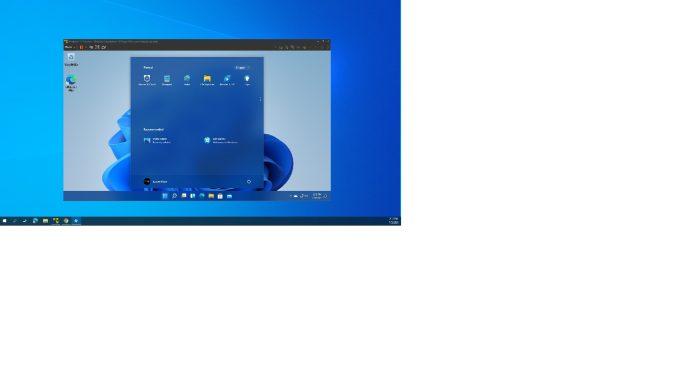
Virtualization technology has become an integral part of modern computing, allowing users to run multiple operating systems and applications simultaneously on a single physical machine. Whether you’re a developer, a system administrator, or just a tech enthusiast, enabling virtualization in your Windows 11 PC can open up a world of possibilities. In this guide, we’ll walk you through the process of activating virtualization in Windows 11, step by step.
What is Virtualization?
Before we dive into the process, let’s briefly discuss what virtualization is. Virtualization is a technology that creates a virtual, rather than actual, version of something, including but not limited to virtual machines (VMs) that simulate the functions of a physical computer. This technology allows you to run multiple operating systems concurrently on a single physical computer, making it an essential tool for various purposes, such as software development, testing, and server management.
System Requirements
Before you begin, ensure that your computer meets the following requirements:
- A 64-bit processor: Most modern processors are 64-bit, but it’s essential to verify this to enable virtualization.
- BIOS/UEFI Support: Your computer’s BIOS or UEFI firmware should support virtualization technology, and it should be enabled in the BIOS settings. This setting is often referred to as “Virtualization Technology,” “Intel VT-x,” or “AMD-V.”
Activating Virtualization in Windows 11
Here’s a step-by-step guide to enable virtualization in Windows 11:
1. Access the BIOS/UEFI Settings:
- Restart your computer.
- During the startup process, press the designated key (commonly F2, F12, DEL, or ESC) to enter the BIOS or UEFI settings. The key varies depending on your computer’s manufacturer.
2. Locate Virtualization Technology Option:
- Once inside the BIOS or UEFI settings, look for an option related to virtualization technology. It may be called “Virtualization Technology,” “VT-x,” “AMD-V,” or something similar.
- Enable this option. You might need to navigate through different tabs or sections to find it.
3. Save and Exit:
- After enabling virtualization, save the changes and exit the BIOS or UEFI settings. This process may vary depending on your system, but it’s typically done by pressing a key like F10, and confirming your choice.
4. Verify Virtualization is Enabled:
- To ensure virtualization is successfully enabled, you can use the Task Manager:
- Press
Ctrl + Shift + Escto open Task Manager. - Click on the “Performance” tab.
- Under “CPU,” look for “Virtualization” in the right-hand pane. If it says “Enabled,” you’re good to go!
- Press
5. Install Virtualization Software:
- With virtualization enabled, you can now install virtualization software like Oracle VirtualBox, VMware Workstation, or Hyper-V, depending on your needs and preferences.
Conclusion
Enabling virtualization in Windows 11 is a relatively simple process, provided your computer’s hardware supports it. Virtualization opens up a world of possibilities, from running multiple operating systems on a single machine to creating isolated testing environments for software development. By following this guide and ensuring your computer meets the requirements, you’ll be well on your way to harnessing the power of virtualization in Windows 11. Happy virtualizing!


